How to Start a Braai Fire That Burns for Hours: A Foolproof Guide
Dense hardwood and a bit of patience are the secret. How to build, light and feed a fire so the coals stay hot from the first chops to the last sosatie, even in a south-easter.
 The Stompies teamUpdated 8 min read
In this article
Every great fire starts with the right fuel.
Building a braai fire that burns for hours isn’t about rushing to get flames going – it’s about understanding the art of proper fire-making.
A braai represents far more than cooking meat over flames.
This cherished South African tradition brings friends and family together, creating moments of warmth, unity, and shared experiences.
South Africa celebrates National Braai Day on September 24th, also known as National Heritage Day.
The perfect braai fire takes patience.
Most first-timers rush the process, but quality coals develop slowly, typically 40 minutes to an hour for wood to burn down to those glowing red coals with a thin layer of ash.
The secret lies in cooking over hot coals, not flames.
Stacking wood too early kills your fire.
This common mistake happens when people don’t understand the fundamentals.
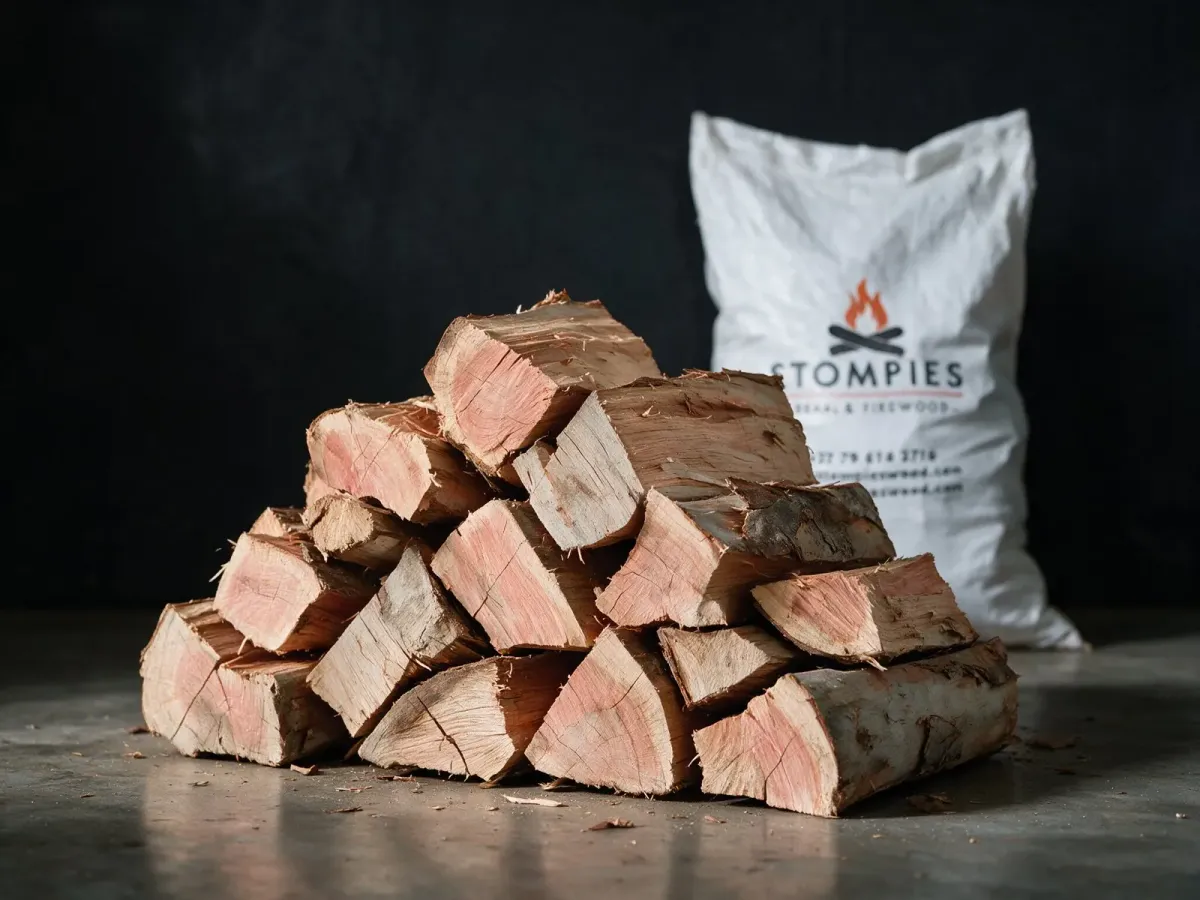
Success comes from selecting the right woods; rooikrans, kameeldoring and sekelbos.
Mastering proper stacking techniques, and recognising when your coals are ready for cooking.
At Stompies, we know that exceptional braais start with exceptional fires.
This guide reveals each step for creating fires that burn consistently, giving you the lasting heat needed to cook all your favourite foods to perfection.
Preparation Makes Perfect Fires
Experience, in South Africa, means knowing the exact moment to turn the chop, the importance of an ice-cold beer in hand, and the fact that every braai ends in a debate about who makes the best potato salad.
Proper setup determines your braai success.
The right preparation transforms rushed cooking sessions into relaxed experiences that last for hours.
Choose the right braai area
Location determines your braai experience.
Position your braai in well-ventilated areas that offer wind protection whilst allowing smoke to escape.
Cape Town braaiers know the South Easterly wind can quickly turn pleasant gatherings into smoke-filled nightmares.
But did you know there’s a way to enjoy a completely smoke-free fire? [Smoke-Free Fireplaces]
Place your fire pit away from trees, boundary walls, thatch roofing, and houses.
Safety first!
Ensure adequate seating space around your braai area, it’s meant for social gathering.
Covered patios work brilliantly for year-round braaing, letting you enjoy this tradition regardless of weather.
Proper ventilation and proper firewood remains essential because nobody enjoys cooking in smoke clouds.
If you’re after a more refined, low-smoke experience, our custom-designed fireplaces offer the perfect balance of ventilation, heat control, and convenience. It’s ideal for hassle-free braaing in any season.
Essential tools you’ll need
Ready to start your fire? These items are non-negotiable:
- Braai stand or grill : Where the magic happens
- Long-handled tongs : Safe food turning
- Firelighters : Easy fire starting
- Braai grid : Stainless steel or cast iron for durability
- Sharp knife and cutting board : Food preparation
- Basting brush : Marinade application
- Cleaning equipment : Braai maintenance
Fire starters are absolutely essential unless you’re a bushcraft expert.
Sharp knives make food preparation effortless.
Best types of wood for long-lasting coals
Wood selection determines fire longevity.
Hardwoods deliver superior results through density and low moisture content.
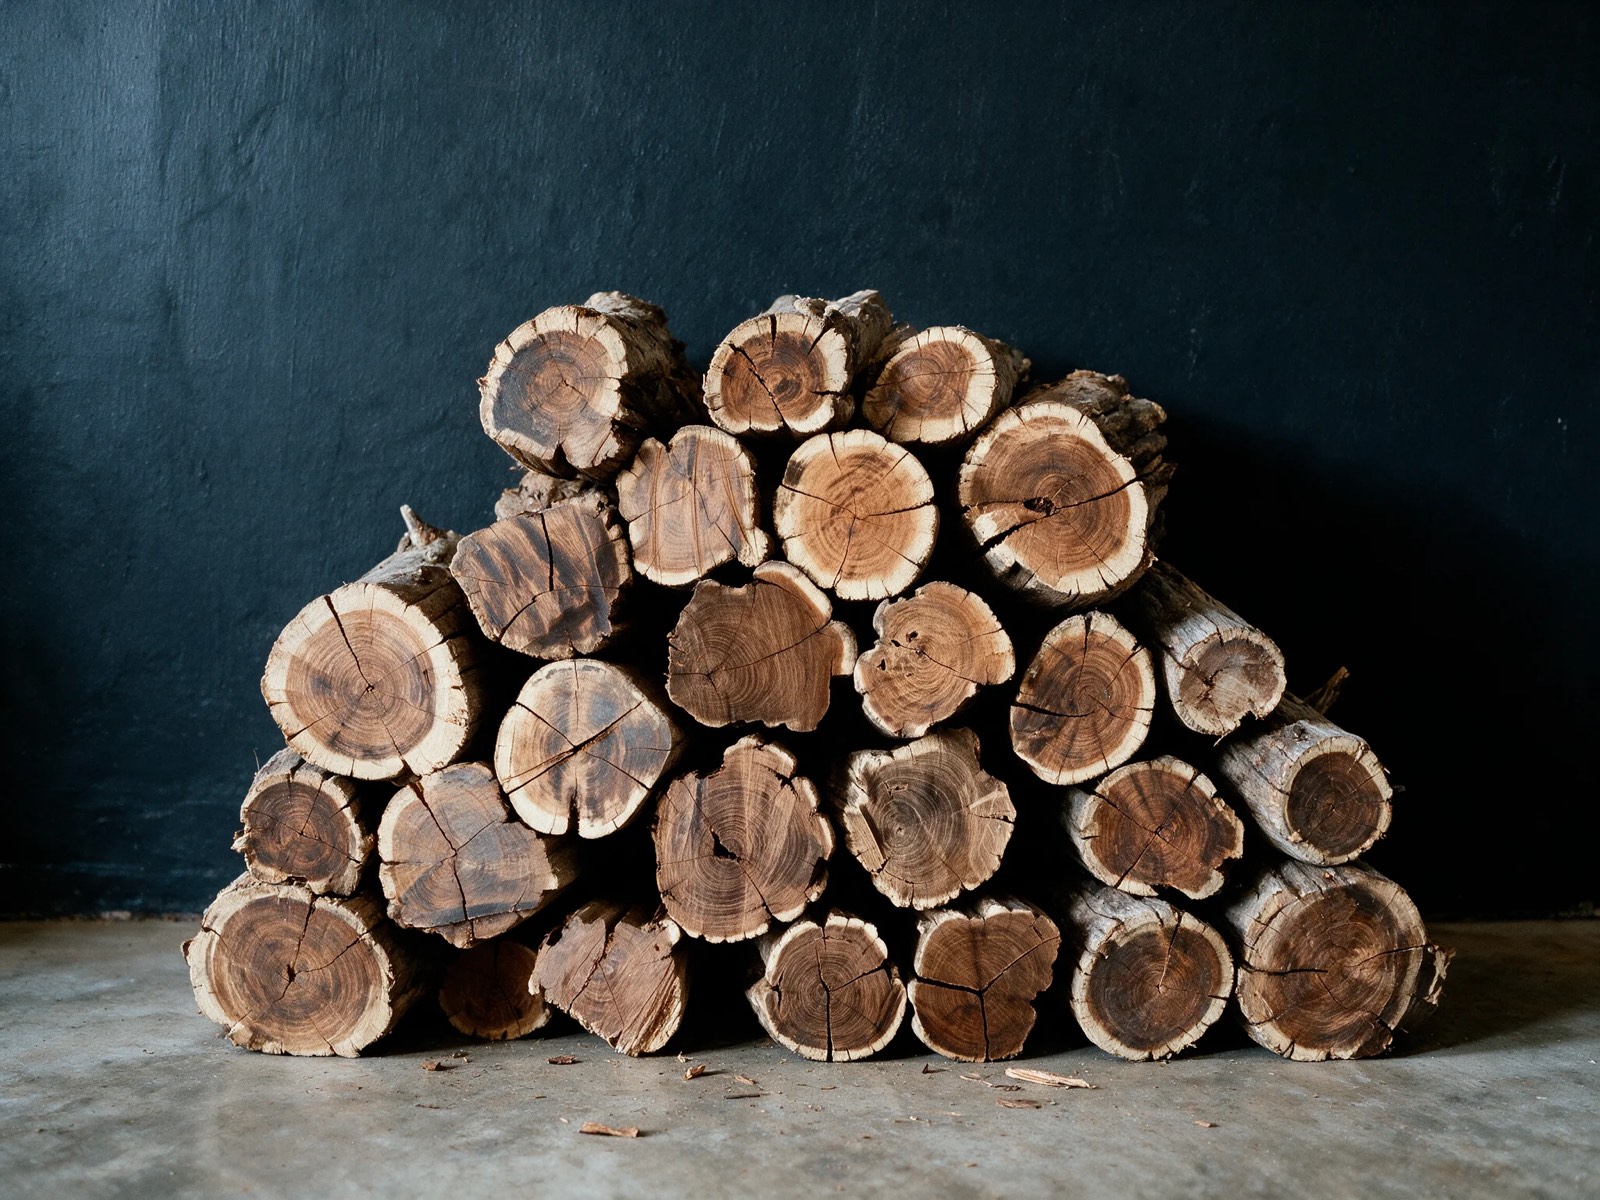
Kameeldoring (Camel Thorn) reigns as the “King of Braai.”
This extremely dry, dense hardwood produces minimal smoke whilst maintaining high, consistent heat for extended periods.
It creates enduring coals, making it perfect for long braai sessions.
Sekelbos contains natural oils that add a distinctive bushveld aroma whilst burning hotter than average wood.
Known for its enhanced flavour properties, it’s ideal for braais and general firewood use.
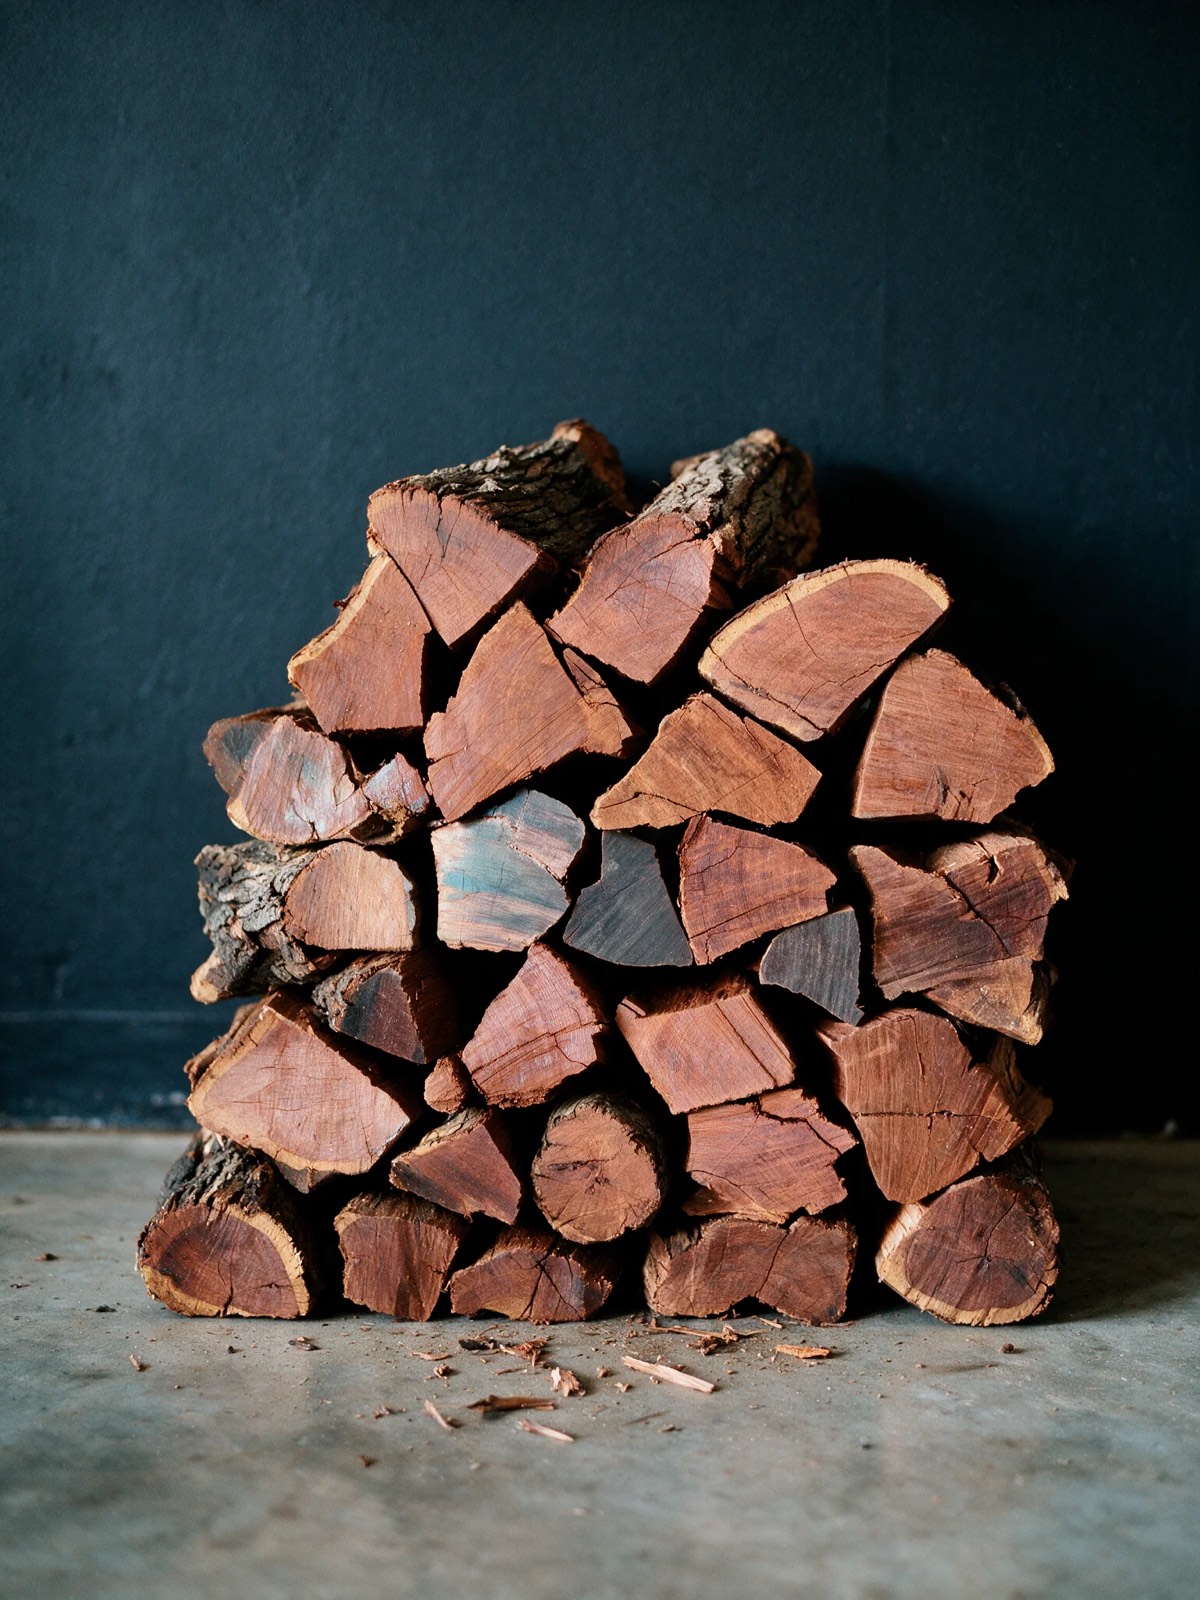
Rooikrans, favoured in the Western Cape, generates large, hot coals within 40 minutes and maintains heat for extended cooking.
It’s well-suited for braais and general firewood purposes.
Kameeldoring offers the highest density in the range, with heat that holds.
Black Wattle provides an eco-friendly option that burns hot and ignites easily.
Avoid softwoods like pine or freshly cut wood, these produce excessive smoke and won’t create the lasting coals essential for proper braaing.
Build Your Long-Lasting Braai Fire
Building a fire that burns for hours demands technique, not random wood stacking.
Four essential steps create consistent heat that lasts throughout your entire braai session.
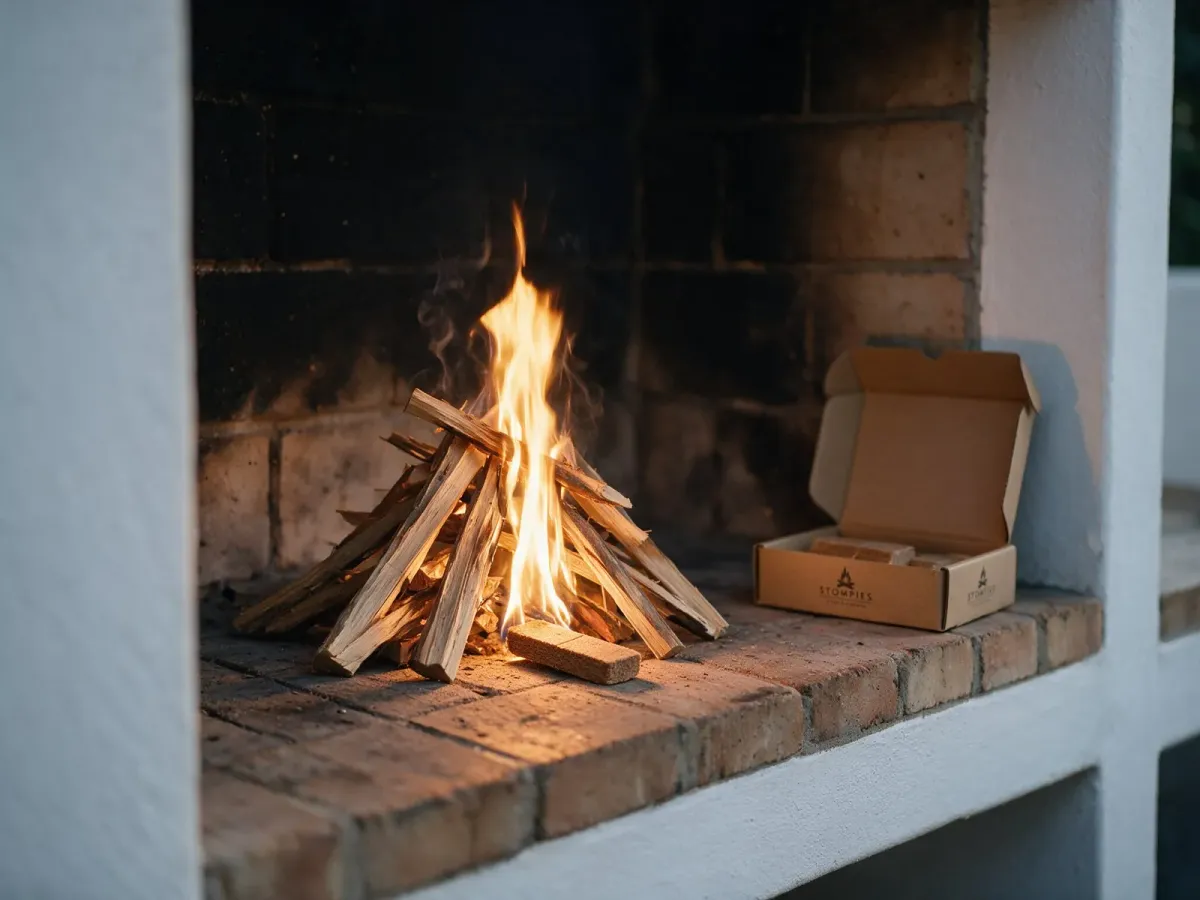
Step 1: Position your firelighters
Start with quality fire starters.
Place 2-3 paraffin blocks or firelighters in your braai’s centre.
Natural firelighters made from wood chips and wax offer safer alternatives for health and environment.
Newspaper or cardboard egg boxes soaked in vegetable oil work perfectly when you need DIY options.
Step 2: Stack kindling properly
Arrange smaller wood pieces around your firelighters.
Two proven methods work best:
Square method: Lay two pieces parallel with the firelighter between them.
Place two more pieces on top, perpendicular to the first layer.
This creates excellent airflow through a stable structure.
Teepee method: Arrange thin sticks in a cone shape around the firelighter.
Leave adequate space between pieces for air circulation.
This traditional approach concentrates heat effectively.
Step 3: Add larger logs with breathing space
Continue with your chosen pattern-square tower or teepee.
Add three or four layers, ensuring space between wood pieces for oxygen flow.
Never stack too tightly.
This suffocates your fire before it properly establishes.
Step 4: Light and wait patiently
Light the firelighters at the base.
Let them burn properly.
The biggest mistake?
Constantly poking and prodding your developing fire.
Let the fire establish itself with minimal interference.
Gently fan flames with cardboard if needed to increase oxygen flow.
Proper braai fires take 40 minutes to an hour developing into perfect cooking coals.
Flames should rise approximately to your logs’ height, this indicates healthy fire with good oxygen circulation.
Sustaining Your Braai Fire for Extended Sessions
Starting a fire is one skill, maintaining consistent heat for hours is another.
Once your initial structure collapses into glowing embers, the real expertise begins.
Smart wood management techniques
Resist the urge to constantly add more wood.
Experienced braaiers know the secret: Build a substantial fire from the start rather than adding wood in batches.
Adding a second batch means your first coals will be half-spent by the time new wood burns down.
Create a feeding system for longer cooking sessions.
Build your main fire on one side of the braai, then pull formed coals over to your cooking area whilst the main fire continues generating fresh coals.
This technique ensures a constant supply of hot coals for your cooking zone.
For extended cooks, whole chickens, lamb ribs, add just a handful of charcoal or wood when heat begins to dip.
Mastering airflow control
Wood provides fuel, but oxygen drives your fire.
Proper airflow management separates average braais from exceptional ones.
Balance is crucial. Too much air burns your fire too hot and fast; insufficient air suffocates combustion entirely.
Keep both bottom and top vents open during cooking, ensuring fresh air flows continuously through your braai.
Read your fire’s signals.
Flames rising approximately to log height indicate healthy fire with good oxygen circulation.
For temperature control, adjust vents in small increments, about ¼ inch, then wait at least 10 minutes before making further adjustments.
Mistakes that ruin long braai sessions
These errors cut braai sessions short:
- Suffocating flames: Stacking wood pieces too tightly restricts oxygen flow. Logs need breathing space.
- Constant adjustments: Patience beats fidgeting. Small, measured changes work better than dramatic alterations.
- Wet wood usage: Guaranteed dry wood burns properly. Wet or freshly cut wood won’t create lasting coals.
- Weather battles: Shield your fire from wind and humidity without restricting airflow. Extreme conditions require higher temperatures-between 232,2°C-315,5°C.Poor maintenance: Dirty braais with creosote buildup produce bitter-tasting smoke. Clean your braai before and after every use.
Perfect Coals Make Perfect Braais
Your fire transforms into cooking perfection when those flames settle into glowing coals.
Patience pays off here-rushing this final stage ruins hours of careful preparation.
Test your coals the right way
The hand test never lies.
Hold your palm 15cm above the coals and count:
- 2-3 seconds: extremely hot (200-230°C) – perfect for quick searing
- 4-5 seconds: medium-hot (180-200°C) – ideal for most grilling
- 6-7 seconds: medium (160-180°C) – good for larger cuts
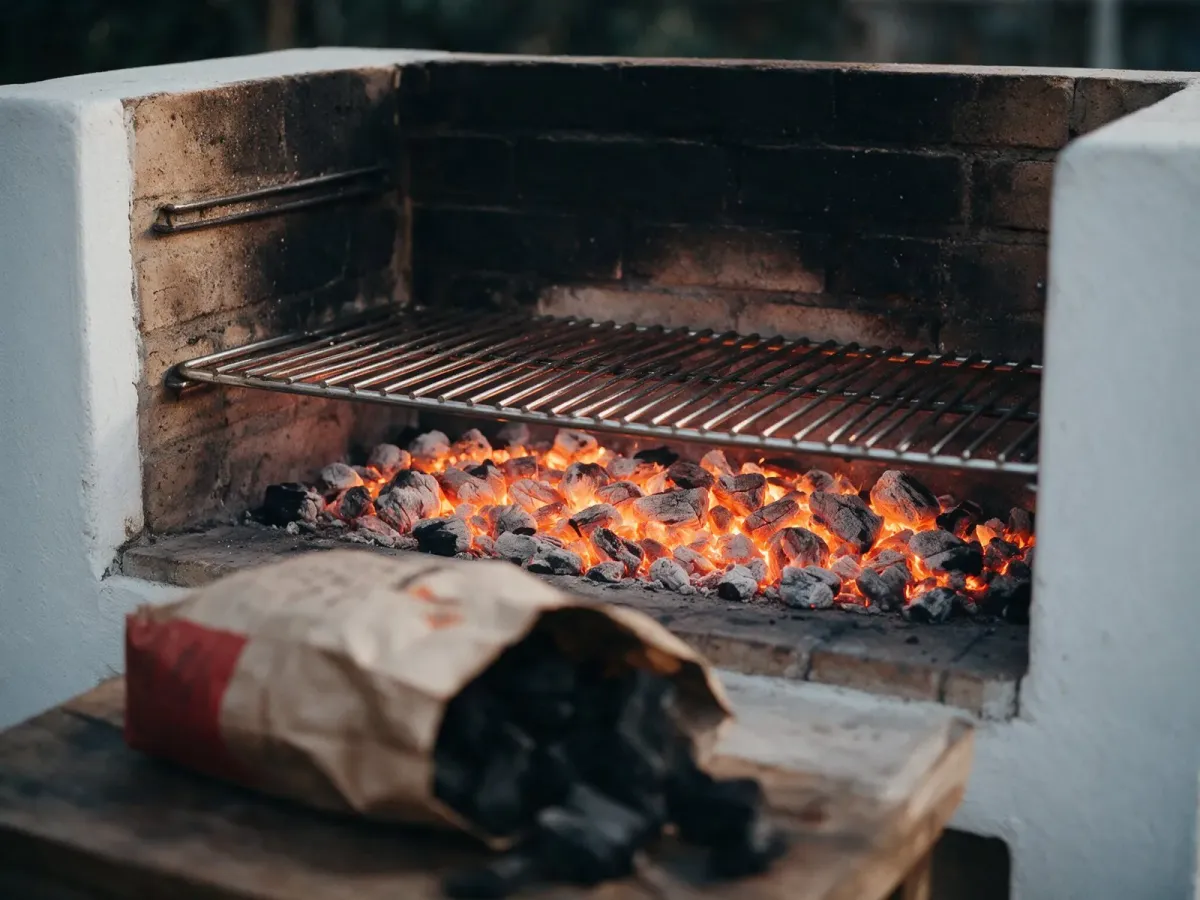
Ready coals appear grey-white with glowing red centres.
Black coals still flaming? Wait longer.
Gas braai users should preheat for 10-15 minutes with the lid closed until the temperature gauge hits your target.
Smart heat zones for better results
Create cooking flexibility with different temperature zones.
Build coals higher on one side for your hot zone, spread them thinly on the other for cooler cooking.
Hot zones handle steaks and boerewors perfectly.
Cooler areas work brilliantly for chicken, thick cuts, and foods needing gentle heat.
Rotisserie cooking? Position coals on both sides with empty space in the middle-this prevents direct heat and flare-ups.
Coals beat flames every time
Flames look impressive but deliver disappointing results.
Open flames create uneven heat, burning some areas while leaving others undercooked.
Worse, flames catch meat drippings, causing flare-ups and sooty deposits that ruin your food.
Glowing coals provide steady, radiant heat that cooks evenly from all sides.
They maintain consistent temperatures longer than flames, giving you better control throughout cooking.
Properly formed coals add that distinctive smoky flavour without bitter burnt tastes.
Quality wood produces quality coals.
Kameeldoring and sekelbos create long-lasting, even-heating coals specifically prized for superior braai performance.
Quality Fires Create Quality Braais
A successful braai depends on fire quality, not just flames.
Many people light fires, but few build ones that maintain consistent heat throughout extended cooking sessions.
The feeding system technique separates amateur fires from professional ones.
Build your main fire on one side of the braai, then pull formed coals over to your cooking area.
This creates a constant supply of hot coals that maintains perfect cooking temperature.
The difference in food quality becomes immediately noticeable.
And while fire makes the braai, tradition gives it soul – explore the 7 best traditional firewoods for a South African braai.
Healthy fires show specific characteristics.
Flames should rise approximately to the height of your logs, though flexibility matters here.
Proper spacing prevents suffocation-too many pieces restrict airflow, too few pieces die quickly.
Hot coals deliver superior results compared to flames.
Wait for wood to burn down completely to glowing red coals with a thin layer of ash.
This process requires 40-60 minutes of patience.
Kameeldoring (camel thorn) stands out among hardwoods for its low moisture content and distinctive musky fragrance.
It burns cleanly and produces exceptionally long-lasting coals.
Safety remains non-negotiable.
Keep water or sand nearby, never leave fires unattended, and maintain safe distances for children and pets.
Proper maintenance extends braai life significantly.
Remove all ash after cooling.
Why? Ash absorbs moisture and causes rust formation.
Never douse coals with water, beer, or wine.
This creates moisture collection and unnecessary damage.
Quality braai equipment feels solid and sturdy.
Look for baked on porcelain-enamel finishes, stable carts with smooth-rolling wheels, and perfectly fitted components.
Premium equipment delivers years of reliable performance and exceptional braai experiences.
Premium fireplaces, custom-tailored for your space
Whether you’re upgrading or starting from scratch, our premium freestanding fireplaces are made to fit your style—and your space. Complete with expert advice and nationwide installation, we make it easy to bring the heat home.
Woods in this guide
Dried, bagged and delivered by Stompies, stacked where you want it.
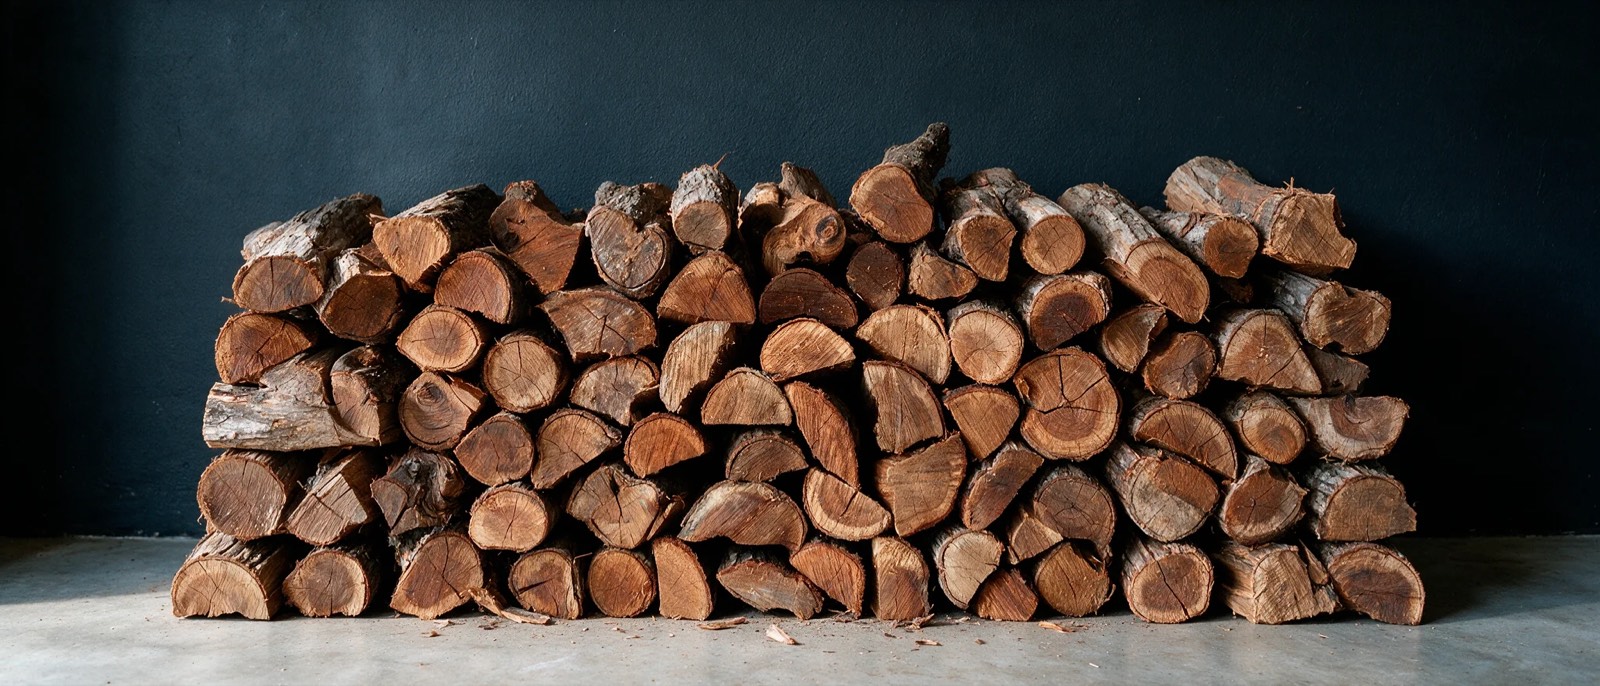 Shop RooikransThe Cape braai wood. It takes a flame without a fight and drops into coals fast, for quick braais: chops, wors, chicken and steak.
 Shop KameeldoringDense Kalahari hardwood for long, slow braais and potjie. Slow to catch, then long, steady heat and coals that keep going.
 Shop SekelbosDense Namibian hardwood for the braai. It lights readily, burns hot and makes coals that hold, for potjie, thick cuts and anything that needs steady coals.